Flooring Installation Prep: Avoid Mistakes with These Easy Tips
Installing new flooring can completely transform your home and boost your everyday comfort. But before you dive in, it’s normal to wonder: What should I do before installing new flooring? The good news is, preparing for new floor installation might be easier than you think. According to MP Global Products, careful measurement and upfront planning can help you avoid costly mistakes later. By following a few simple steps before installing new floors, you’ll be ready for a smooth process and a professional-quality finish that lasts.
Checklist: what should i do before installing new flooring
Below is a high-level overview of what you need to tackle before your installation date. Each step helps you avoid stress, wasted flooring materials, or future repairs. You don’t need to be an expert to handle preparing for new floor installation—just the right plan and a bit of support.
- Measure your area accurately (add extra for waste)
- Research and pick the flooring material that matches your space
- Check subfloor health and address any damage
- Acclimate materials if needed (especially laminate or hardwood)
- Clear the room of clutter and protect nearby items
Stay organized by crossing off these steps before installing new floors one by one. Let’s break them down in detail.
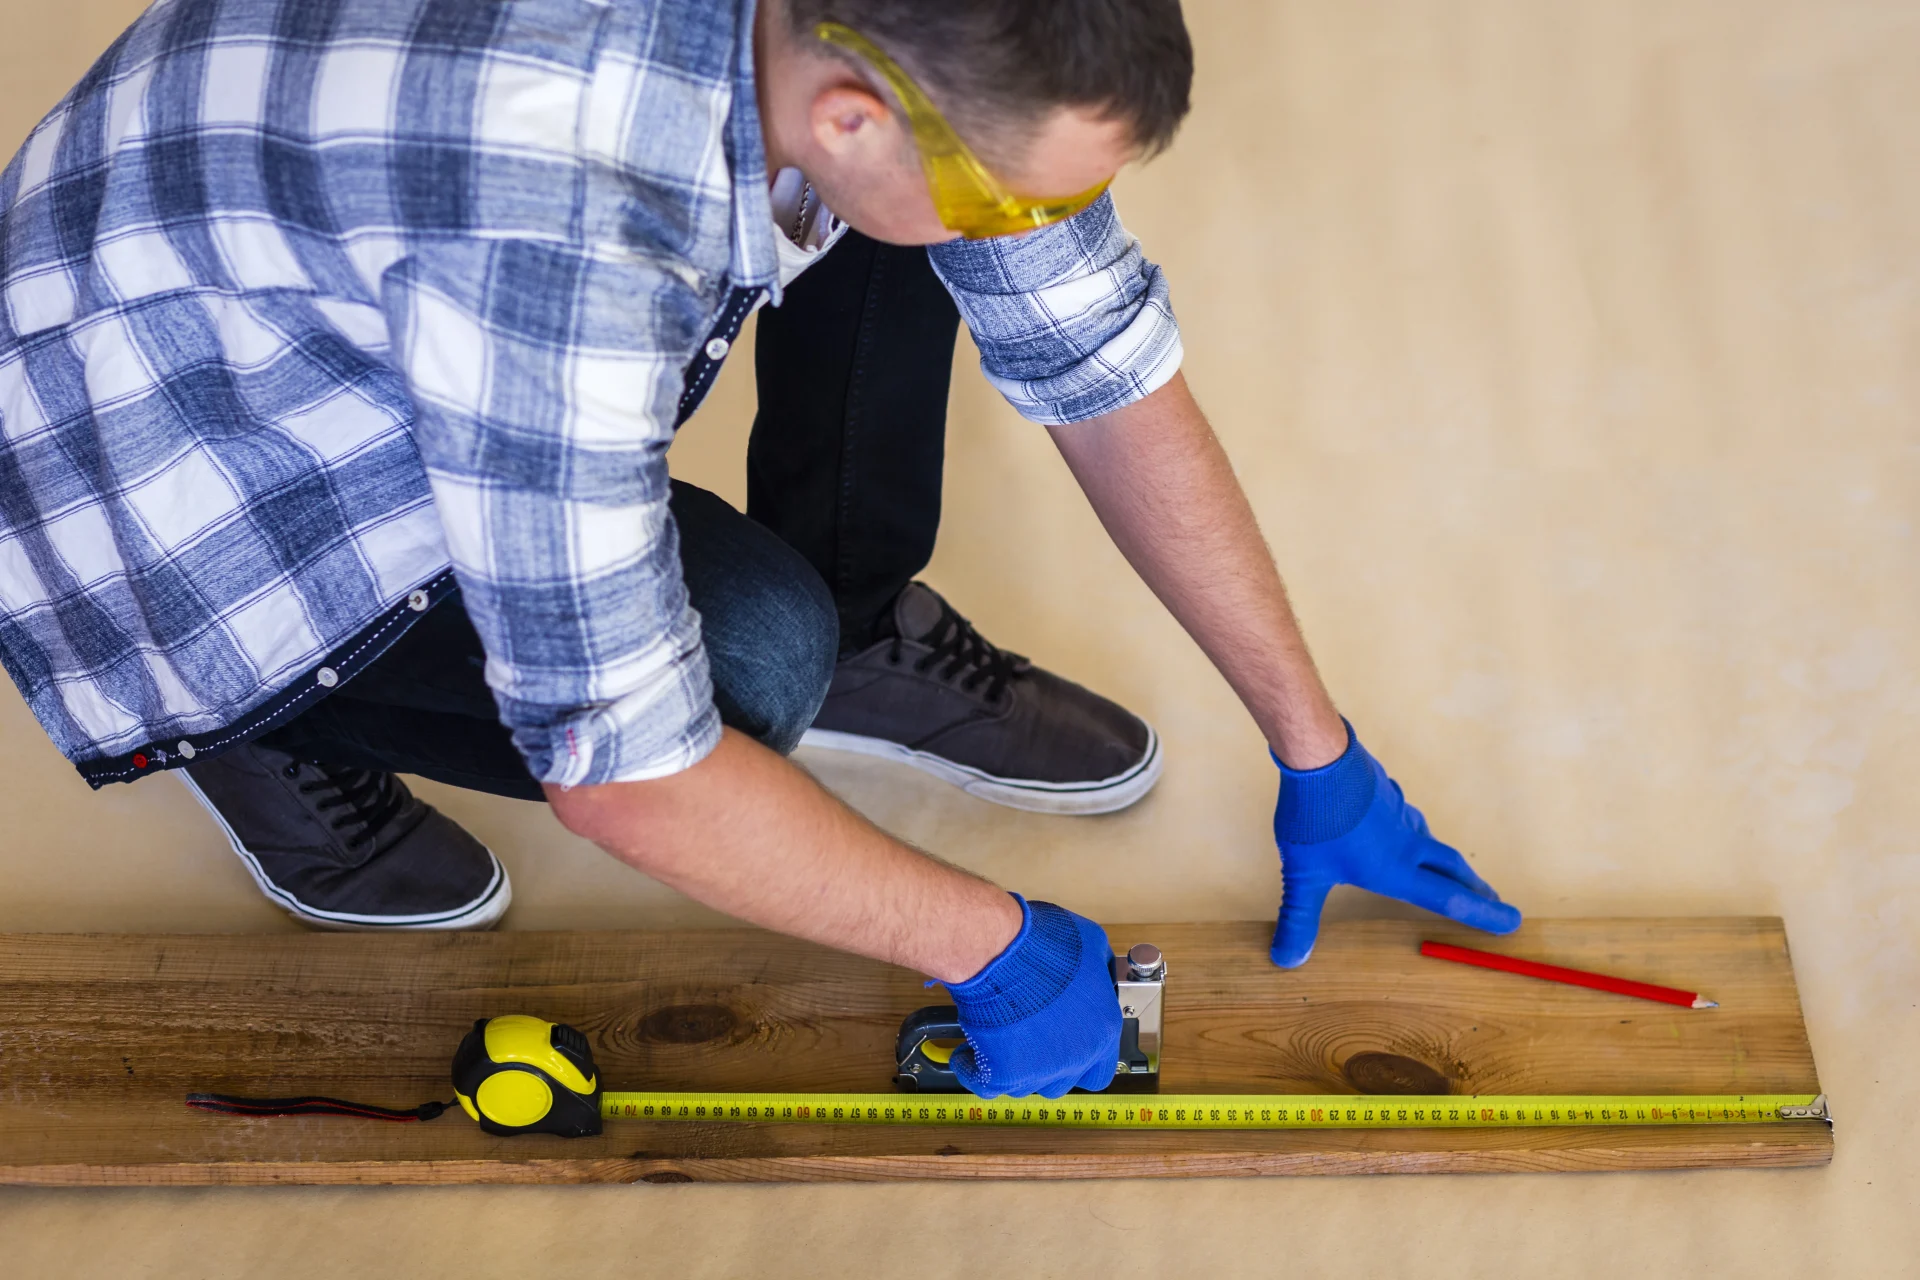
Measure and plan accurately
Precise measuring is your first major step. If you miscalculate, you risk running short on flooring materials or blowing your budget. According to MP Global Products, add at least 10% to your square footage for cuts and waste—up to 20% for patterned tile.
- Measure length and width of each room or space.
- Subtract permanent fixtures like a kitchen island or built-in cabinets to avoid overestimating. (If your island is 15 square feet, remove that from the total before factoring in your waste allowance.)
- Confirm these calculations with a flooring retailer, because small details—like where you cut or how you stagger planks—can alter how much product you need.
Getting the math right upfront is one of the most important steps before installing new floors.
Choose your ideal flooring
Once you know the project size, select the flooring materials that best fit your lifestyle and space. Each flooring type has trade-offs like durability, water resistance, and overall cost. Options like vinyl and tile are easier to maintain (usually just sweeping and mopping). Luxury vinyl planks (LVP) or laminate may work well for DIY, thanks to a user-friendly click-lock system. Hardwood often looks classic, but your budget may spike due to installation and finishing costs.
It is wise to consult multiple suppliers and contractors for detailed quotes. A single type of flooring can cost anywhere from $3–$30 per square foot once you factor in labor. Getting more than one estimate lets you choose the right product at a price point you are comfortable with. You can also ask about potential hidden expenses, like removing your old floor or handling subfloor repairs.
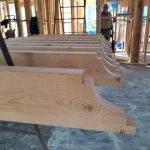
Address your subfloor
Your subfloor is the base that lies under everything. Damage here can lead to squeaks, loose tiles, mold, or warping planks. Check for:
- Spongy or soft spots underfoot (suggests water damage).
- Musty smells, or signs of mold from past leaks (like around washing machines or water heaters).
- Warping or rotted wood if you have an unfinished basement or crawl space below.
If you spot issues, handle them before your new flooring goes down. Sometimes you can fix minor water damage yourself by removing the top floor covering, checking the joists, and installing new subfloor sections [2]. For major problems, professionals are recommended. They will replace damaged sections correctly and ensure structural stability. If you want more insights on subfloor fixes, check out what is the best way to prepare a subfloor for installation.
Acclimate your flooring material
Some flooring—particularly laminate, hardwood, or engineered wood—needs time to adjust to your home’s temperature and humidity before installation. This step is called acclimatisation. Even laminate (which is not entirely wood) often has a fiberboard core that can expand or contract. Letting the boards rest in the installation room for at least 48 hours at normal living temperatures helps prevent gapping, buckling, or uneven wear later [3].
- Maintain a consistent indoor temperature (around 65–86°F or 18–30°C) and moderate humidity.
- Distribute the boxes of planks around the room so that air can circulate easily.
- Slight changes in size during acclimatisation are normal, so your job is to let them stabilize.
Skipping this step can lead to planks that do not lock correctly or boards that buckle. If your materials arrive early, simply open the boxes (according to manufacturer guidelines) and let them settle.
Declutter and protect your space
Finally, get your space ready for floor day. That means moving furniture, appliances, and anything else that will block the installer’s path—or yours, if this is a DIY job. You can rent plastic covers or use drop cloths to keep dust off items you cannot move. For tricky appliances, you might want an extra set of hands. In some cases, professional installers will handle large items, but confirm this arrangement ahead of time so you know who is doing what.
- Remove fragile décor from walls (vibrations from hammering or sanding can knock items loose).
- Tape up any doorways to rooms you are not flooring, so dust stays contained.
- Ask your supplier or contractor if you should empty closets—they might install the flooring inside them for a uniform look.
If you are tackling this yourself, flooring pre-installation preparation can teach you how to plan for minimal downtime. After the flooring goes in, a quick follow-up, such as flooring post-installation preparation, offers ways to ensure a neat and protective finish.
What should i do before installing new flooring
Now you have a solid action plan—and a clear answer to what should I do before installing new flooring. You’ll measure carefully, choose a floor type that fits your space, check your subfloor, let materials acclimate, and clear the room for smooth installation. Keep this checklist handy, and you’ll move through each step with confidence—saving time, money, and stress when the real work begins. A thoughtful approach pays off in the long run, and we’re confident you’ll see the results.
Ready to Transform Your Home?
At Mazzamuto Construction, we believe great spaces start with thoughtful planning and skilled craftsmanship. Whether you’re exploring ideas or ready to build, our team is here to guide you every step of the way. Let’s bring your vision home—reach out for a personalized consultation today!
You can also learn more about us or explore recent client feedback on our testimonials page.
Frequently Asked Questions
1. How to prepare your home for flooring installation?
Start by removing all furniture, rugs, and decor from the room. If you’re replacing old flooring, arrange for removal and disposal ahead of time. Ensure there’s a clear path for installers, and cover nearby vents or fixtures to protect them from dust. Don’t forget to plan for pets and kids—they’ll need a safe space away from the work zone.
2.What should I do before installing new flooring?
Before installation, measure your space accurately, choose the right flooring type for your needs, and inspect the subfloor for any damage or uneven spots. Let your new flooring materials acclimate in the room for at least 48 hours to prevent warping or shifting later. Finally, thoroughly clean the area and make sure it’s completely dry and free of obstacles.
3. What is the best way to prepare a subfloor for installation?
First, remove any debris, nails, or adhesive from previous flooring. Then, check for flatness using a long level—uneven areas should be sanded down or filled in. Repair any cracks or damaged sections, and make sure the subfloor is dry, solid, and securely fastened. If you’re installing over concrete, a moisture barrier may be needed. A clean, stable subfloor is key to a long-lasting floor.
4. When do I need to replace a damaged subfloor?
If you feel squishy areas, smell mold, or see obvious rotting, replace those sections. Water damage often happens under appliances or hidden leaks, so a thorough inspection is crucial.
5. How long should I acclimate my flooring materials?
Most experts advise 48 hours at a minimum, maintaining normal indoor conditions (around 65–86°F). This lets the planks adjust to your home’s humidity and temperature.
6. Will I need to vacate my house during installation?
Usually, no. But some adhesives, sanding, or finishing processes create strong odors or dust. You might step out for a few hours in those situations, especially if you have children or pets.
7. Is there a difference between acclimating laminate vs. hardwood?
Both need time, but hardwood generally requires more strict humidity controls. Laminate’s fiberboard core still requires acclimation to prevent gaps, so never skip this step.
Key takeaway
- Always measure carefully and add extra for waste.
- Address subfloor damage before your new floor arrives.
- Let your flooring materials acclimate to reduce future expansion or shrinking.
- Clear the space of furniture and use dust barriers for minimal disruption.
- Consult a pro if you spot major problems or have a complex installation plan.