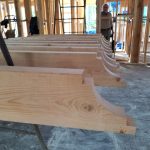
Flooring post-installation preparation
Flooring Post-Installation Preparation is your best bet for keeping your freshly installed floors looking brand-new. You’ve invested time, money, and energy into selecting the right style, so it makes sense to give them the care they need. In fact, the first few weeks after installation are critical, because your new floors are still settling and adapting to your home’s environment.
The good news? Flooring Post-Installation Preparation steps are easier than you might think, and they help you avoid preventable damage in the long run. Below, you’ll discover why strong post-installation habits matter, how to prepare your environment for the adjustment period, and what cleaning and maintenance practices will protect your investment.
When done right, Flooring Post-Installation Preparation extends the life and appearance of your floors. It’s not just about avoiding scratches or stains—it’s about preserving the integrity of your entire space.
Whether you’ve installed hardwood, laminate, or luxury vinyl, Flooring Post-Installation Preparation is essential for keeping your floors in top shape for years to come. For additional flooring care tips, visit our blogs or explore whole-home remodeling options that complement your new floors.
Why flooring post-installation preparation matters
Many people assume that once floors are installed, the work is done. However, overlooking essential post-installation measures can lead to costly repairs. A study by Lockwood Carpet found that spills left unattended contribute to 40% of flooring damage over time [2]. It is not just spills, either. Humidity fluctuation, dragging furniture, and using harsh cleaning materials can undermine the beautiful finish on your new floors.
By focusing on proper flooring post-installation preparation, you:
- Protect the finish from scratches and dents.
- Prevent common moisture problems that lead to warping or buckling.
- Make cleaning simpler and faster.
- Extend the overall lifespan of your floors.
Solid hardwood floors, for instance, can maintain their luster for a decade or more if given the right care. Engineered hardwood also benefits from a stable environment, while laminate or luxury vinyl plank (LVP) floors can warp under extreme moisture conditions. In every case, the first month sets the tone for how your floors will look years from now.
Manage the indoor climate wisely
When your new floors—whether hardwood, laminate, or another material—are first installed, they begin adjusting to the temperature and humidity in your home. Flooring Post-Installation Preparation includes this critical step, as climate control directly affects floor stability. According to McClellands Contracting and Roofing, maintaining indoor humidity between 35% and 55% is essential, especially in areas with seasonal fluctuations [1]. If humidity is too high, wood can expand and warp. If it’s too low, it might shrink and crack.
Tips for balancing humidity
- Use a dehumidifier in summer: If the humidity rises above 55%, floors may swell. A dehumidifier keeps moisture in check.
- Turn on a humidifier in winter: Dry air can cause wood to crack. A humidifier keeps floors stable and reduces stress on materials.
- Inspect problem spots: Bathrooms, kitchens, and basements can spike in humidity. Monitor these zones closely during Flooring Post-Installation Preparation.
This kind of proactive climate control is a vital part of successful Flooring Post-Installation Preparation, especially for materials sensitive to environmental changes like hardwood, laminate, or LVP.
Protect your floors from heavy impacts
Floors are most vulnerable right after installation, making this phase a critical part of your Flooring Post-Installation Preparation. Many professionals recommend limiting foot traffic for the first 48 hours, though timelines may vary depending on the floor type. For instance, newly installed hardwood may require several days before heavy furniture is moved across it. According to McClellands Contracting and Roofing, restricting weight for about 30 days ensures the finish sets properly.
Simple ways to reduce damage
- Lift furniture instead of dragging: Even with felt pads, dragging couches or tables can leave scratches.
- Install protective pads: Chair and table legs should have felt pads to reduce impact—especially crucial during Flooring Post-Installation Preparation.
- Rotate furniture positions: Every few months, shift furniture slightly to avoid concentrated wear in high-traffic zones.
If your floors are still fresh, consider waiting a week or two before adding very heavy items. When that’s unavoidable, enlist help to lift and gently place items, or roll them over plywood. These precautions form the backbone of smart Flooring Post-Installation Preparation, protecting your floors for the long haul.
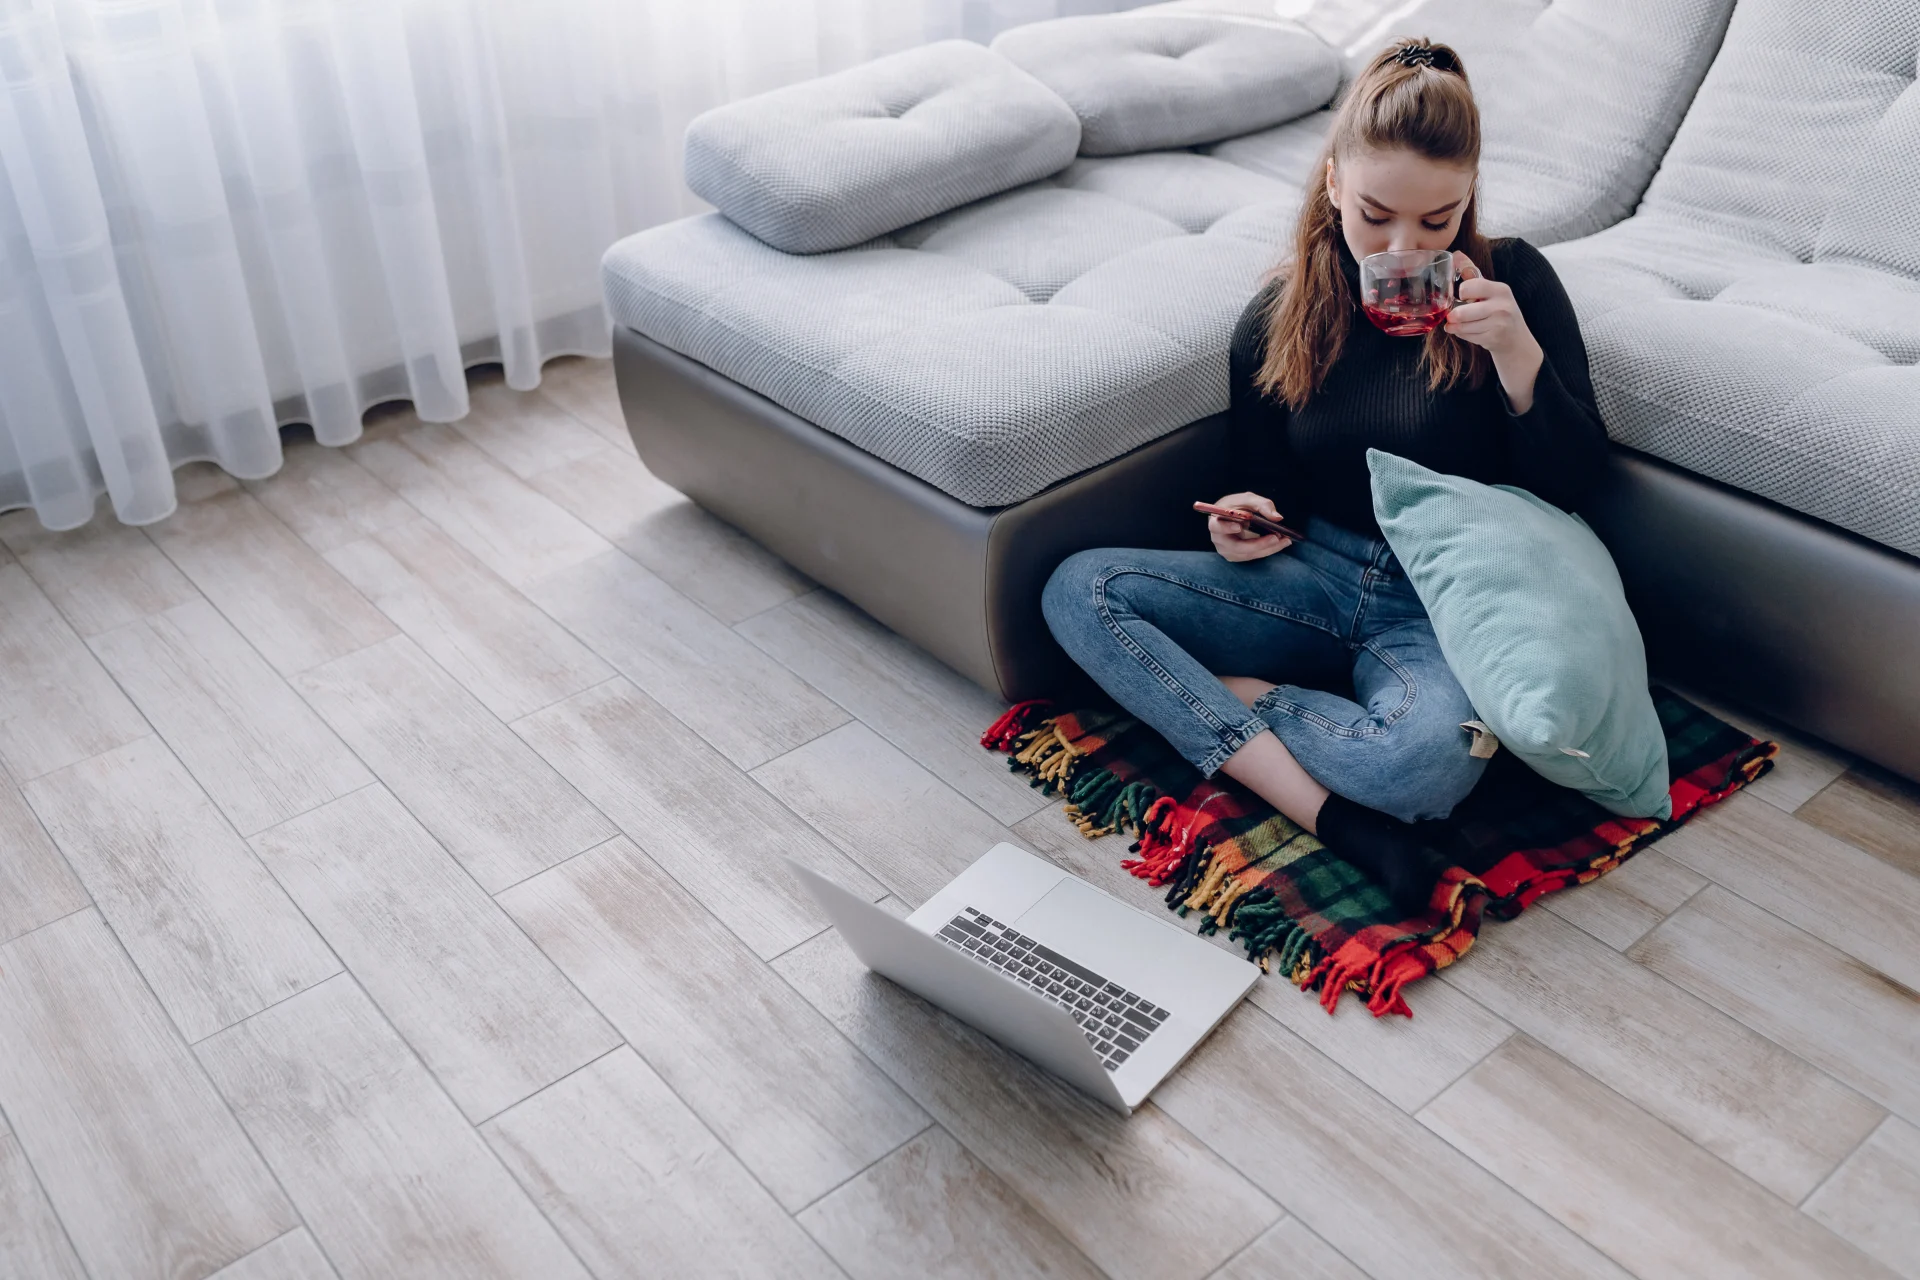
Choose safe cleaning methods
Cleaning is a critical component of Flooring Post-Installation Preparation, especially in the first few days when the floor’s finish may still be curing. Oil-based finishes often take longer to harden, while water-based finishes cure more quickly. Regardless of the type, the goal is the same: avoid harsh chemicals or excess moisture that could seep between boards or into seams.
Flooring Post-Installation Preparation best practices include:
- Using a soft-bristle broom or a vacuum with a hardwood-friendly setting to remove dust or debris.
- Opting for a slightly damp mop—never a wet one—once the floor has fully settled.
- Applying specialty cleaning solutions that are safe for your specific floor type. Always check manufacturer guidelines first.
For everyday care, sweeping or vacuuming is typically enough. If you spot a spill, clean it up immediately with a soft cloth. Quick response time is a hallmark of effective Flooring Post-Installation Preparation, helping you avoid water damage and stains before they start.
Embrace proactive spill management
Even waiting a few minutes to clean up spilled liquids can cause problems—especially on hardwood or laminate floors that are moisture-sensitive. As part of proper Flooring Post-Installation Preparation, quick spill management is one of the most important habits you can build. From coffee to pet accidents, moisture can seep into the finish, leading to swelling, discoloration, or long-term stains. In fact, research from Lockwood Carpet shows that promptly addressing spills helps prevent most permanent flooring damage.
Here is a quick approach, recommended during Flooring Post-Installation Preparation:
- Blot first: Use a clean, absorbent cloth or paper towel to soak up as much liquid as possible.
- Use a gentle cleaner: Only if needed, lightly mist the area with a mild floor-safe cleaning solution.
- Dry thoroughly: Ensure all moisture is removed—standing water is the enemy during Flooring Post-Installation Preparation.
Taking this proactive approach early on protects your new floors and helps them stay beautiful for years to come.
Light use vs. higher traffic
Depending on the material and your contractor’s advice, the timeline for typical use will vary. As part of Flooring Post-Installation Preparation, it’s crucial to understand when your new floors are ready for regular activity. Many homeowners ask how long they should wait before walking freely on newly installed surfaces.
A general rule of thumb for Flooring Post-Installation Preparation:
- Hardwood floors: Avoid regular foot traffic for 24 to 48 hours. Full curing may take up to a week.
- Laminate or vinyl: Often safe to walk on within 24 hours, but always confirm with the manufacturer or installer.
- Tile flooring: Typically supports light traffic after 24 hours. For best results, allow at least 48 hours before placing furniture.
Adhering to these timelines is a key part of successful Flooring Post-Installation Preparation, helping to preserve the finish and avoid premature wear or shifting.
Typical usage timeline by floor type
When installing new flooring, understanding the recommended wait times for foot traffic and heavy furniture placement is a crucial part of Flooring Post-Installation Preparation. These early decisions significantly impact the durability and appearance of your floors long term.
For hardwood and engineered hardwood, light foot traffic is generally acceptable after 24 to 48 hours, but it’s best to wait 7 to 30 days—depending on the product and conditions—before placing heavy furniture. Laminate and vinyl plank flooring (LVP) also allow light foot traffic after about 24 hours, but you should wait 2 to 7 days before introducing heavy items. Tile flooring typically supports light traffic within 24 hours, though it requires at least 48 hours before bearing substantial weight.
Adhering to these timelines is a core element of Flooring Post-Installation Preparation, ensuring the finish sets correctly and no shifting occurs. Skipping or rushing this step can lead to warping, indentations, or seam separation.
Flooring Post-Installation Preparation isn’t just about cleaning and climate—it’s also about timing. Taking these precautions preserves your investment and keeps your floors in excellent condition from day one.
Always remember: Flooring Post-Installation Preparation guidelines can vary by product, so consult your manufacturer or installer for the most accurate recommendations.
Maintain your new hardwood floors for the long haul
If you have hardwood floors, consistent care is a vital part of effective Flooring Post-Installation Preparation. A routine of sweeping, occasional damp mopping, and fast response to spills will keep your floors looking pristine. These habits protect the finish and extend the life of your investment.
The protective top layer on hardwood can last several years before needing a new coat. As part of long-term Flooring Post-Installation Preparation, many homeowners schedule professional screening and recoating every 3 to 5 years. In cases of deeper wear, full refinishing may be required every 10 to 20 years, depending on traffic levels and overall maintenance.
Successful Flooring Post-Installation Preparation doesn’t end after the first month—it evolves into an ongoing maintenance plan. Keeping your cleaning routine gentle and your humidity levels stable makes all the difference.
For additional guidance on hardwood floor upkeep as part of Flooring Post-Installation Preparation, explore resources on how to maintain new hardwood floors after installation.
Stay vigilant with inspections
Regular inspections are a key part of smart Flooring Post-Installation Preparation. Checking your floor for loose boards, early scratches, or subtle gaps can help you catch issues before they turn into expensive repairs.
During your Flooring Post-Installation Preparation, keep an eye out for surface imperfections. Minor flaws can often be addressed using wood fillers or repair kits that match your floor’s color and texture. These quick fixes not only restore appearance but also prevent further wear.
If you notice deeper damage—like cracked boards or buckling—it may indicate a more serious issue. As part of your continued Flooring Post-Installation Preparation, consult a licensed flooring contractor to assess the problem and determine if it’s covered under warranty.
Ongoing Flooring Post-Installation Preparation means staying proactive. Routine inspections and early intervention protect your floors for the long haul and reduce the likelihood of major restoration work.
When to consider refinishing or repairs
Over time, even with proper Flooring Post-Installation Preparation, floors can start to show signs of wear. For solid hardwood, sanding and refinishing can bring back its original beauty. Engineered hardwood may also be refinished—as part of long-term Flooring Post-Installation Preparation—but only if the top veneer layer is thick enough to handle it.
Laminate floors are different. Since they can’t be sanded or refinished, severe damage typically calls for plank replacement. That’s why early intervention, guided by good Flooring Post-Installation Preparation, is so important.
If you’re unsure how to evaluate issues like deep stains, warping, or buckling, consult a professional. During Flooring Post-Installation Preparation, it’s also wise to review your warranty to understand what kinds of damage may be covered.
Whether you need minor repairs or a full replacement, understanding material limitations is a critical part of smart Flooring Post-Installation Preparation that ensures your flooring stays functional and attractive for years to come.
Layer on prevention with rugs and mats
Placing rugs or mats in high-traffic areas—like hallways or entries—acts as a first line of defense against debris and moisture. This is especially useful for floors prone to water damage, such as maple or walnut hardwoods. For LVP floors, area rugs help trap outside dirt that could otherwise scratch the surface.
- Entry mats: Catch grit and mud before they even hit your floors.
- Cooking zones: A mat in front of the sink or the stove helps prevent water or oil splashes from damaging the floor finish.
- Workout areas: If you have an exercise space, a mat diminishes friction and repeated impact on the floor.
Always ensure that any rug you use has a rubber or slip-resistant underside to prevent shifting. Check that the rug’s backing will not damage your floor’s finish.
Explore essential post-installation resources
Looking into additional sources can bring clarity to each step. For example, if you had not considered what happens before the installation process, there are practical guides like flooring pre-installation preparation or what should I do before installing new flooring, which explain subfloor readiness and room preparation. If you are dealing with a non-traditional material, what is engineered hardwood flooring or what is laminate flooring can shed light on specific cleaning and maintenance challenges.
These resources are handy if you plan to expand your flooring or if you suspect your house has conditions (like old subfloors) that could affect a new installation. If you need advanced tips on prepping your subfloor, check what is the best way to prepare a subfloor for installation. Becoming familiar with these topics will make you a more informed homeowner with floors that stand the test of time.
Your ultimate guide to flooring post-installation preparation
Flooring post-installation preparation is the cornerstone of making sure your new floors stay vibrant and stable for years to come. You do not need to be an expert contractor to control humidity, clean up spills, or prevent scratches. With a few consistent habits—like balancing indoor moisture levels, minding weight restrictions, and cleaning carefully—you set your floors up for success.
You have already completed one major step by installing new flooring. Now, take these practical measures to keep your home’s foundation of style and comfort in prime condition.
Ready to Transform Your Home?
At Mazzamuto Construction, we believe great spaces start with thoughtful planning and skilled craftsmanship. Whether you’re exploring ideas or ready to build, our team is here to guide you every step of the way. Let’s bring your vision home—reach out for a personalized consultation today!
You can also learn more about us or browse our testimonials to hear from past clients.
Frequently Asked Questions
1. How to clean floors after installation?
After installing your new floor, start with a gentle, dry clean-up. Use a soft-bristle broom or microfiber dust mop to remove sawdust, debris, and adhesive residue. Avoid using water or wet mops for at least 24–72 hours, especially if adhesives or finishes are still curing. Once it’s safe, clean with a pH-neutral floor cleaner designed for your flooring type (e.g., wood, laminate, vinyl). Don’t use abrasive scrubbers or strong chemicals—they can dull or damage the finish. For stubborn spots, use a damp cloth and mild soap, and dry immediately.
2. How long before you can walk on newly installed flooring?
This depends on the type of flooring and installation method:
- Glue-down floors: Wait at least 24–48 hours to allow adhesives to fully set.
- Floating floors (click-lock): Usually safe to walk on after 12–24 hours.
- Nail-down floors: Light walking can begin after installation, but avoid heavy furniture for 24–48 hours.
- Refinished or site-finished hardwood: Wait 48–72 hours or until the finish is completely cured.
Always follow your flooring manufacturer’s specific guidelines to avoid shifting or damaging the surface.
3. How to maintain new hardwood floors after installation?
To keep your hardwood floors looking new:
- Dust or sweep daily with a microfiber mop to remove grit that can scratch the surface.
- Clean weekly using a hardwood-safe floor cleaner—never use vinegar, steam mops, or excessive water.
- Use felt pads under furniture legs and rugs in high-traffic areas to prevent dents or fading.
- Maintain consistent humidity (between 35–55%) in your home to prevent the wood from expanding or shrinking.
- Refinish when needed—most hardwood floors can be lightly sanded and recoated every few years to refresh their appearance.
Proper care early on will help your new floors stay beautiful and durable for decades.
4. Will rugs or mats damage my new floors?
Rugs and mats provide excellent protection if they have a non-scratch backing. They capture debris, lower foot traffic wear, and prevent water from seeping into the floor. Just make sure that the backing is compatible with your floor’s finish.
5. When is it time to refinish or recoat hardwood floors?
Typically, screening and recoating every 3 to 5 years will maintain the sheen of hardwood floors. Major refinishing may be needed every 10 to 20 years, depending on wear patterns and traffic.
6. Can laminate or vinyl floors be refinished?
Laminate and most vinyl floors cannot be sanded and refinished like solid hardwood. Instead, repair or replace damaged planks. Routine cleaning and quick spill cleanup can extend their life.
7. Are there different post-installation care steps for engineered hardwood?
Engineered hardwood floors benefit from the same steps as solid hardwood—controlling humidity and gentle cleaning. They can sometimes be refinished if the top layer is thick enough, but confirm with the manufacturer before sanding or stripping.
Key takeaway
- Control indoor humidity: Keep levels around 35%–55% to avoid warping, cracking, or cupping.
- Limit post-installation traffic: Give your floors a chance to settle and cure by limiting heavy loads in the first few days or weeks.
- Clean gently and often: A soft-bristle broom or hardwood-friendly vacuum prevents grit buildup. Use mild cleaning solutions for tough stains.
- Prevent scratches and dents: Felt pads under furniture, area rugs in busy spots, and careful handling of heavy items go a long way.
- Inspect regularly: Catching small issues—like minor gaps or scratches—early saves you from bigger, costlier repairs.