Effortless Tips on How to Clean Floors After Installation
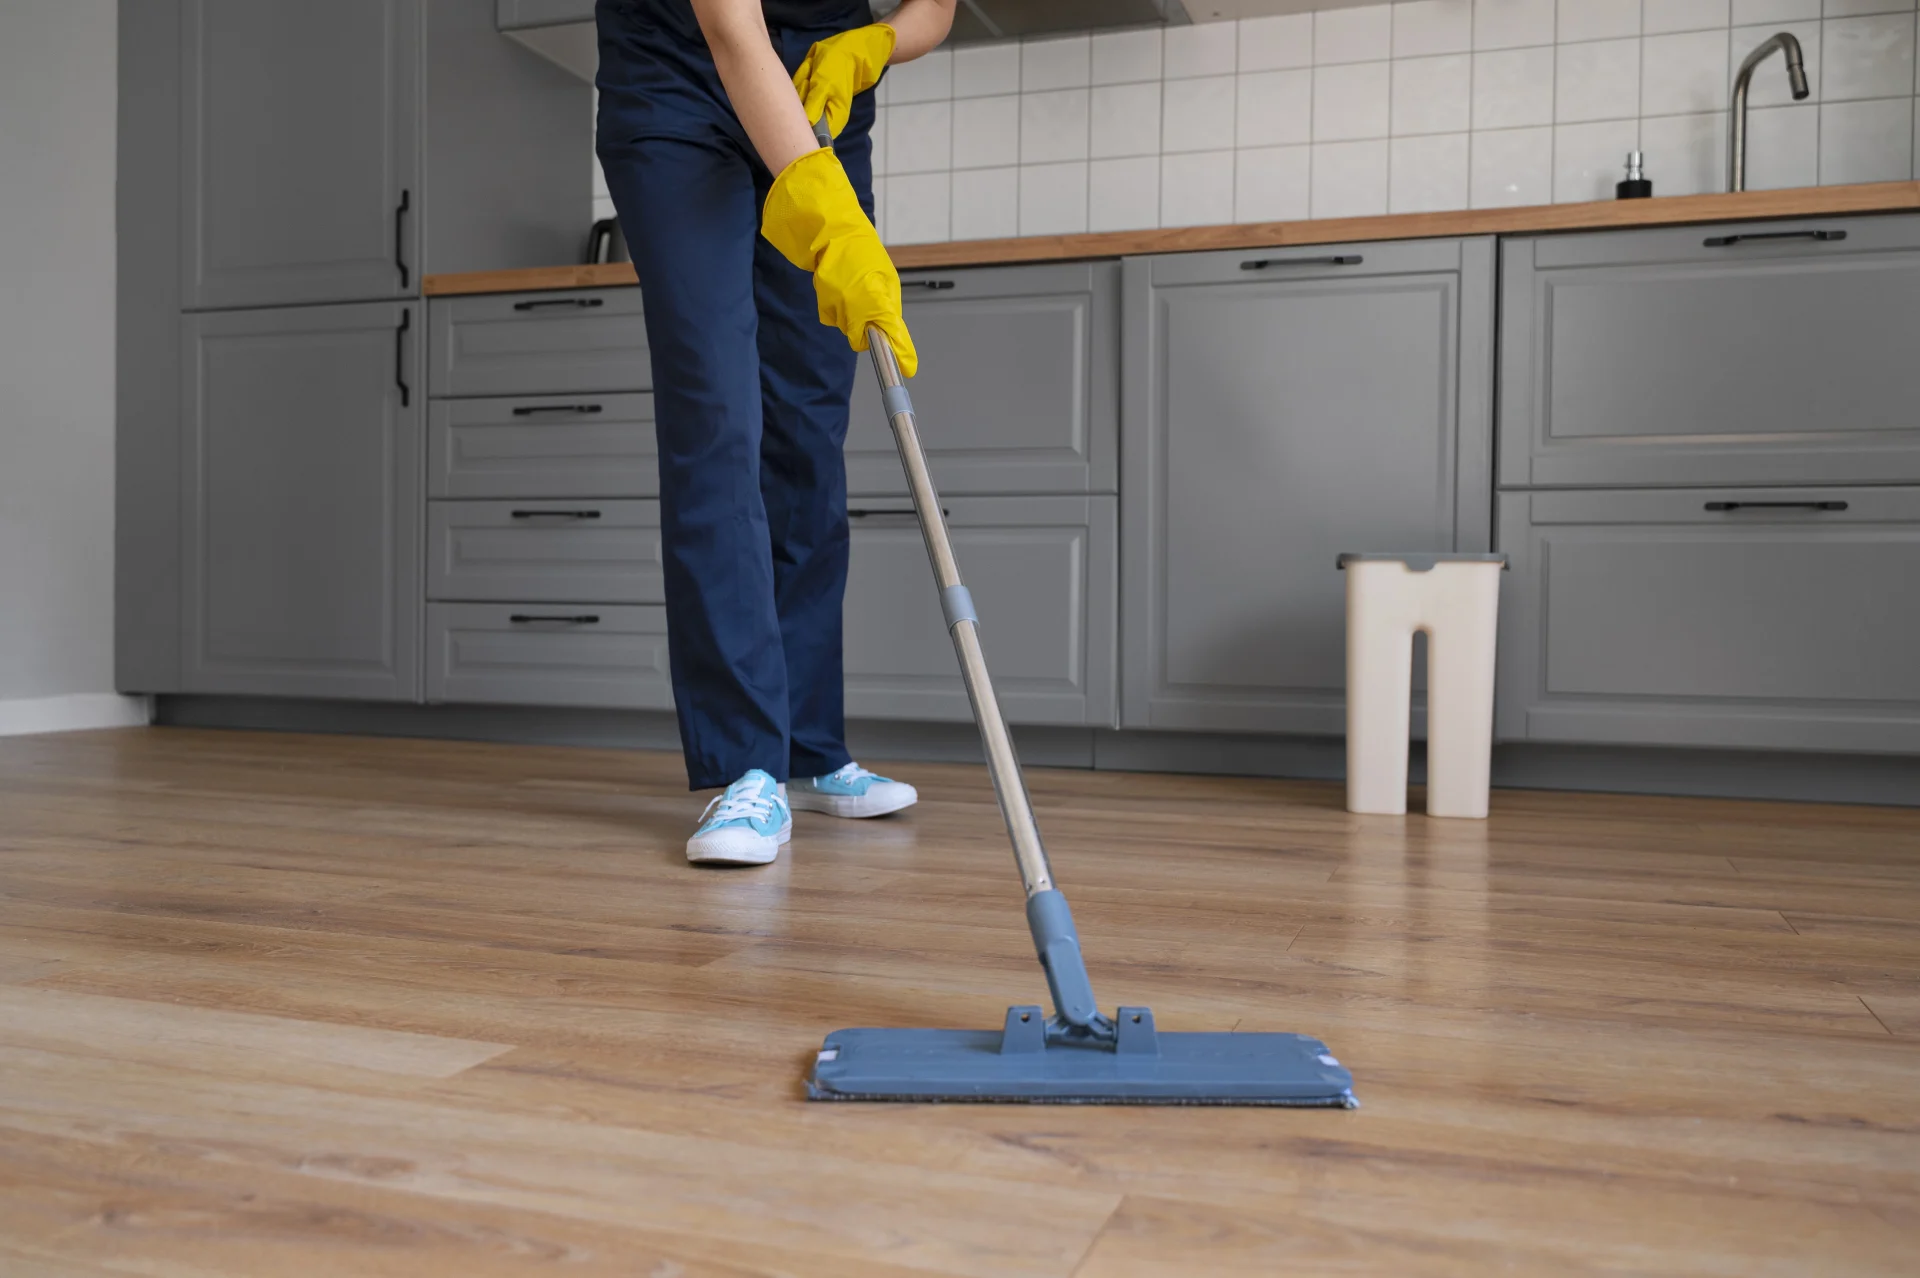
How to clean floors after installation
Knowing how to clean floors after installation is essential for keeping them beautiful and damage-free. A newly installed floor has unique needs, whether you chose hardwood, luxury vinyl plank (LVP), tile, or laminate. Regular upkeep not only preserves the look of your fresh investment, it also protects the structure beneath the surface. In fact, consistent cleaning can reduce the chance of scratches or warping by removing harmful grit and moisture (Builders Interiors). Good news: this entire process is simpler than many people think—and with the correct routine, you can enjoy gleaming floors for years to come.
Understand your floor type
Before you pull out a broom or mop, start by identifying what kind of floor you have. Each material has slightly different cleaning requirements that can extend its longevity. You can confirm specifics by checking documentation from your installer or reading your product manual. Here are the most common floor types:
- Hardwood (Solid or Engineered): Natural wood is porous and can warp with excessive water. Engineered hardwood often has a sturdy veneer on top of multiple layers, while solid hardwood is a single piece of timber.
- Luxury Vinyl Plank (LVP) or Vinyl Tile: This synthetic material is water-resistant and more tolerant of moisture than hardwood. Still, it’s wise to avoid soaking it for long periods.
- Laminate: Similar to engineered wood in structure, laminates have a top layer that can peel or warp if too much water seeps in.
- Tile (Porcelain or Ceramic): Typically resistant to stains and water, tile floors still need careful attention with pH-neutral cleaners to keep grout lines clean.
If you’re still deciding on the best floor for your home, you might want to learn about the types of flooring installation materials available, especially if you’re in the planning phase.
Gather safe cleaning tools
The biggest mistake people make is using all-purpose cleaners on every floor type. Many surfaces are sensitive to harsh chemicals or stiff tools. Choosing the right products helps prevent damage and prolong floor life:
- Microfiber mops and brooms: Soft fibers protect wood and vinyl, trapping dust better than standard brooms (E_M Custom Flooring).
- Floor-specific cleaning solutions: Use pH-neutral products like Bona for hardwood; DIY mixes may corrode finishes (Miller’s Wholesale Flooring).
- Vacuum with a floor-brush setting: Disable rotating brushes to avoid scratching or catching edges.
- Warm water in moderation: Light misting is fine, but avoid puddles. Steam sparingly.
Basic cleaning steps for hardwood floors
Hardwood floors can last decades with proper care using right tools, gentle formulas, and moisture control. Sweep or vacuum regularly with soft brooms or hardwood-setting vacuums to remove dirt and sand that scratch finishes. Consider daily sweeping in high-traffic areas. Use damp microfiber mops with mild hardwood cleaners like Bona, wringing thoroughly to prevent water damage. Work in sections for quick drying. Spot-clean spills immediately with soft, dry cloths to prevent stains and expansion. Avoid wax-based polishes that create cloudy buildup and limit steam cleaning to occasional manufacturer-approved deep sessions.
Maintain newly installed luxury vinyl floors
Luxury vinyl plank (LVP) offers durability and water resistance but requires consistent care. Use dry mopping with microfiber to remove dirt that could scratch the protective wear layer. Choose pH-neutral, vinyl-safe cleaners and avoid abrasive pads. Limit excess water when mopping—wring mops until slightly damp to prevent adhesive degradation. Clean spills quickly with a damp cloth to prevent discoloration. For deep cleaning, use manufacturer-approved steam cleaning quarterly, keeping the mop moving to prevent moisture seepage through plank edges.
Tidy up porcelain or ceramic tiles
Porcelain or ceramic tiles withstand a lot of foot traffic and moisture. Still, you’ll want to keep them free of grime, especially in the grout lines.
- Neutral detergents: Acidic or overly alkaline solutions can fade the tile’s surface or erode grout. A mild neutral cleaner and occasional warm water rinse will preserve appearance (Builders Interiors).
- Avoid steam mops: High heat and pressurized steam may force moisture into grout lines. Some tile manufacturers say occasional steam is fine, but check with references first.
- Regular rinsing: Ensure you rinse off any soapy residue with clean water. Residue can attract dirt, especially if it’s left to dry on the tile.
Protect floors from damage
Once your floors have that fresh, just-installed shine, the goal is to protect them from everyday hazards. Consider these prevention tips:
- Add mats at entrances: Door mats trap dirt, sand, and water before they touch the flooring. This is crucial for high-traffic entry points (Builders Interiors).
- Felt pads and protector caps: Attach these to chair legs and other movable furniture. It’s a simple fix that greatly reduces scratches.
- Avoid dragging heavy items: Lift or slide them on a towel or a dedicated furniture slider. This helps you steer clear of deep gouges or tears in any flooring surface.
- Control humidity: Wood floors can swell and contract if your indoor humidity is too high or too low. A dehumidifier is a wise addition if you live in a humid climate (Miller’s Wholesale Flooring).
Use the right schedule
Cleaning frequency depends on traffic, pets, spills, and preference. For hardwood, vacuum often, wipe spills fast, and damp mop monthly with a safe cleaner. LVP needs dry mopping, spot cleaning, and occasional deep cleaning. Sweep and spot clean tile weekly; wash and rinse grout monthly. Laminate needs dry mopping and low moisture. Always follow manufacturer care guidelines and adjust based on your home’s activity level.
How to Clean Floors After Installation and Keep Them Looking New
How to clean floors after installation starts with using gentle techniques, the right tools, and responding quickly to spills. Don’t let minor messes build up—clean them immediately to avoid long-term damage. Always follow your floor’s care guide for specific instructions. Routine maintenance helps prevent stains and costly repairs. For best results, revisit the key steps regularly and explore related topics like how soon you can walk on new flooring to ensure lasting protection from day one.
Ready to Transform Your Home?
At Mazzamuto Construction, we believe great spaces start with thoughtful planning and skilled craftsmanship. Whether you’re exploring ideas or ready to build, our team is here to guide you every step of the way. Let’s bring your vision home—reach out for a personalized consultation today!
You can also learn more about us or browse our testimonials to see what clients are saying.
Frequently Asked Questions
1. How to clean floors after installation?
After installing your new floor, start with a gentle, dry clean-up. Use a soft-bristle broom or microfiber dust mop to remove sawdust, debris, and adhesive residue. Avoid using water or wet mops for at least 24–72 hours, especially if adhesives or finishes are still curing. Once it’s safe, clean with a pH-neutral floor cleaner designed for your flooring type (e.g., wood, laminate, vinyl). Don’t use abrasive scrubbers or strong chemicals—they can dull or damage the finish. For stubborn spots, use a damp cloth and mild soap, and dry immediately.
2. How long before you can walk on newly installed flooring?
This depends on the type of flooring and installation method:
- Glue-down floors: Wait at least 24–48 hours to allow adhesives to fully set.
- Floating floors (click-lock): Usually safe to walk on after 12–24 hours.
- Nail-down floors: Light walking can begin after installation, but avoid heavy furniture for 24–48 hours.
- Refinished or site-finished hardwood: Wait 48–72 hours or until the finish is completely cured.
Always follow your flooring manufacturer’s specific guidelines to avoid shifting or damaging the surface.
3. How to maintain new hardwood floors after installation?
To keep your hardwood floors looking new:
- Dust or sweep daily with a microfiber mop to remove grit that can scratch the surface.
- Clean weekly using a hardwood-safe floor cleaner—never use vinegar, steam mops, or excessive water.
- Use felt pads under furniture legs and rugs in high-traffic areas to prevent dents or fading.
- Maintain consistent humidity (between 35–55%) in your home to prevent the wood from expanding or shrinking.
- Refinish when needed, most hardwood floors can be lightly sanded and recoated every few years to refresh their appearance.
4. Is steam cleaning safe for all floor types?
Not always. Steam can penetrate seams in LVP or the pores in hardwood. If the manufacturer recommends steam, use it sparingly and keep steam mops in constant motion. Otherwise, rely on gentle, moist mopping for regular cleaning (Miller’s Wholesale Flooring).
5. Why are felt pads necessary under furniture?
Chairs, tables, or couches can scuff and scratch floors when dragged. Felt pads let heavy or frequently moved furniture glide without gouging or leaving marks over time. This is especially helpful for wood and vinyl floors alike.
Key Takeaways for Cleaning and Maintaining Newly Installed Floors
- Identify your floor type. Different flooring materials need unique cleaning approaches, so confirm whether you have hardwood, LVP, tile, or laminate.
- Choose gentle methods. Soft microfiber mops and pH-neutral cleaners reduce scratches and protect the finish from corrosion.
- Pause on moisture. Too much water can ruin hardwood and seep through vinyl seams. Always wring out mops well and clean up spills fast.
- Prevent scratches. Door mats, felt pads on furniture, and limiting dirt entry are simple precautions to keep your new floors flawless.