Understanding how to prepare your home for flooring installation
How to prepare your home for flooring installation starts with a bit of planning and organization. You might have already browsed different types of floors, from waterproof hardwood to laminate. Now it’s time to give your home a quick makeover so the pros can install your new floors without stress. Several experts (Birkes Builders, Baldwin Family Flooring) emphasize the importance of moving furniture, planning for traffic flow, and ensuring the subfloor is prepped. This helps you avoid project delays, damage to valuables, or even injuries. Plus, you’ll save time and money by sidestepping last-minute surprises. Use this as your flooring installation prep guide to stay ahead.
Clear the area and protect your furniture
Empty smaller items first
Before tackling couches or bed frames, start by clearing your room of lightweight objects. These include lamps, decorative pieces, books, bedding, and electronics. According to Baldwin Family Flooring, it is recommended to remove smaller items, pictures, or art from the room and store them in a safe place. This not only prevents breakage but also keeps your installers from maneuvering around extra clutter.
- Label cords for electronics. This way, you know exactly where they go when you reconnect devices in your newly floored room.
- Use plastic bins or boxes to store knickknacks. Seal them so dust and debris don’t settle on fragile items.
- Keep the area at least three feet clear around the work zone (as Birkes Builders advises) to let installers move in and out easily.
Move or store large furniture
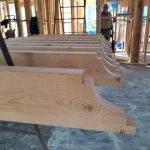
Furniture can be one of the biggest obstacles during flooring installation prep. A safe bet is to relocate bulky items like sofas, armoires, and beds to another room or into temporary storage. Birkes Builders recommends using furniture sliders or dollies for heavier items, along with proper lifting techniques (lift with your knees). If you cannot move something big (like a piano), chat with your installer in advance to figure out a plan. Some large objects simply can’t be handled by standard flooring crews.
- Consider renting a self-storage unit if you have many big pieces or limited space.
- Hiring professional movers is a worry-free solution (Tempo Collection research). They have the right equipment to move bulky furniture and protect floors from scratches.
- If you choose to move the furniture yourself, use covers or plastic wrap to shield it from dust and minor dings.
Prepare the subfloor
Clean thoroughly and remove debris
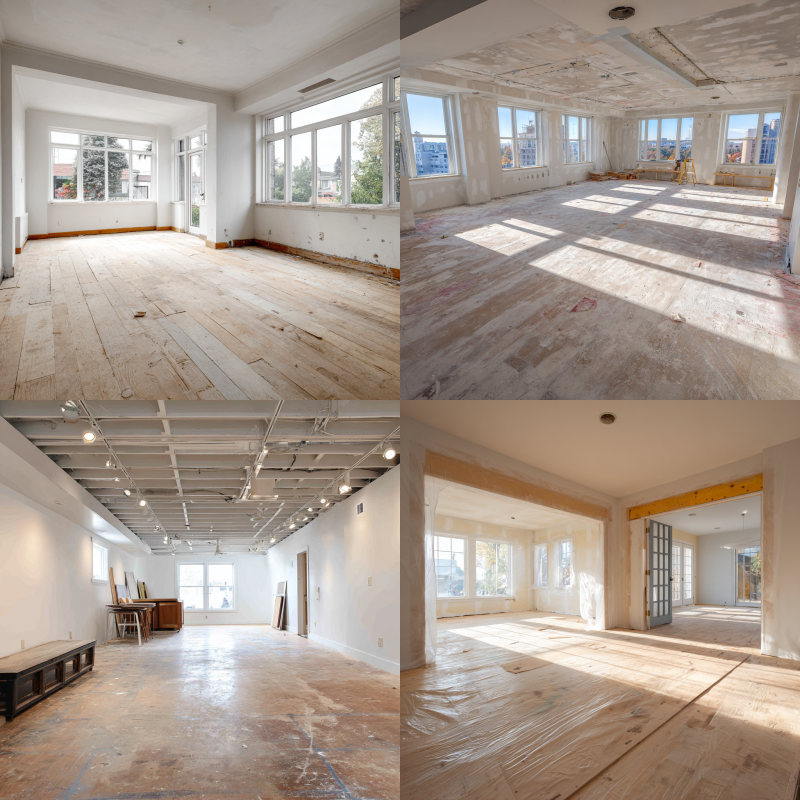
A clean and level subfloor is a must for a stable, beautiful result. Whether your subfloor is wood or concrete, a quick sweep and vacuum will remove lingering dust that can interrupt installation. Residues like paint, glue, or leftover nails can cause uneven spots or issues with adhesion. According to City Floor Supply, thoroughly cleaning the subfloor means the new flooring material will lay properly and last longer. For extra readiness, see what should i do before installing new flooring.
- Scrape off glue, paint, grease, or any other residue.
- Vacuum corners carefully. Dust piles up quickly along edges.
- Inspect for any protruding staples or nails that might get in the way.
Check moisture levels
Wood and moisture do not mix well. Even laminate flooring and engineered hardwood can warp if the moisture in the subfloor is too high. The National Wood Flooring Association (NWFA) says a concrete subfloor should not emit more than 3 pounds of moisture vapor per 1,000 square feet over 24 hours. If your subfloor is wood, it should be well within 4 percent of the acclimated wood flooring’s moisture level. Excess moisture can harm the installation in the long run, so a simple test (like using a subfloor moisture test) can save you from headaches.
- Identify the source of any water leaks before installation. Repairs now prevent bigger issues later.
- If moisture remains high, consider adding a moisture barrier or improving ventilation in the room.
- For additional guidance, see what is the best way to prepare a subfloor for installation.
Fix uneven spots
An uneven subfloor can cause squeaks, shifting, and awkward gaps between planks or tiles. Wood and Beyond emphasizes the importance of leveling the surface by using a straightedge to find high or low spots. High spots might be sanded down (for concrete, you can grind them), while low spots may need a leveling compound.
- After sanding or leveling, vacuum again to remove any debris.
- Squeaky wood subfloors often need additional screws or shims to stop the boards from rubbing, which provides a quieter final floor.
- For deeper repairs, consult a professional to ensure you handle structural issues correctly.
Plan logistics and timing
Coordinate with contractors
Next, align your schedule with the flooring contractor’s timeline. Knowing exactly when the installers will arrive and how long the process will take helps you map out any furniture-moving tasks or subfloor prep in a logical order. Some contractors may offer a pre-installation walkthrough to confirm everything is ready on your end. That is a perfect time to ask final questions. If you’re planning a comprehensive renovation, flooring installation often coordinates with other projects like kitchen remodeling or bathroom remodeling.
- Confirm whether you need to provide an outdoor area for unloading or cutting materials. Baldwin Family Flooring suggests a clean, dry area (like a driveway) or, in poor weather, a clutter-free garage.
- Check if you need to have certain materials on-site in advance. There might be an acclimatization period for hardwood or laminate (24–48 hours, according to Arko Flooring).
- Don’t be afraid to gather multiple quotes for extra services like professional furniture moving. That cost typically ranges from $50 to $200 per room, with possible storage add-ons of $150 to $400 (Birkes Builders data).
Secure pets and personal items
Floors get hectic with heavy tools, adhesives, and foot traffic. Keep your pets away from the work zone for their safety. Set them up in a quiet room or arrange a pet sitter. Additionally, move personal valuables into an off-limits area so they won’t accidentally get damaged. If you are installing over multiple days, plan for some dust and maybe minor scuffs on trim or walls (Baldwin Family Flooring notes that despite careful efforts, a bit of scuffing can happen).
- Cover doorways with plastic sheeting if dust is a big concern.
- Turn off HVAC systems or close vents during sanding to avoid widespread dust circulation.
- Remember to set aside enough time for the floors to settle before putting furniture back. Some materials need at least 24 hours.
How to prepare your home for flooring installation
How to prepare your home for flooring installation starts with smart planning around furniture placement, subfloor readiness, and scheduling. After moving smaller items, relocating large or bulky furniture, and cleaning the subfloor, you are set for a smoother upgrade. Contractors will appreciate a safe, spacious work zone, and you will love how quickly the process wraps up. Whether you are installing hardwood, laminate, or tile, solid preparation paves the way for a beautiful result. Trust your instincts, keep lines of communication open, and enjoy your refreshed space.
Get Expert Help for Your Flooring Project
Need help choosing or installing your new floor? Contact our team today or explore our comprehensive home remodeling services. Whether you’re planning whole home remodeling or need cabinet and countertop updates to complement your new floors, our experienced team provides expert advice you can trust.
Frequently asked questions
1. How to prepare your home for flooring installation?
Start by clearing the work area of all small items, electronics, and furniture. Use a flooring installation prep guide to organize tasks like scheduling with contractors and ensuring safe access. Next, clean and inspect the subfloor for any debris or moisture issues. A simple subfloor moisture test can help prevent damage to your new floors. Finally, secure pets and valuables, and plan for limited room access during the process.
2. What should I do before installing new flooring?
Heavy specialty items often require professional movers or specialized equipment. Floor crews usually will not handle extremely heavy or delicate items (Baldwin Family Flooring references pianos, fish tanks, or safes). Hire a mover for those special pieces to keep everybody safe.
3. What is the best way to prepare a subfloor for installation?
First, clean the subfloor completely—remove dust, old glue, nails, and debris. Use a straightedge to check for high or low spots, then sand or fill as needed to level the surface. Next, perform a subfloor moisture test using a moisture meter to ensure the levels meet manufacturer guidelines. Fix any squeaks or structural issues. A dry, level, and stable subfloor is key to long-lasting floor performance.
4. Can I stay home during the installation process?
Yes, but be prepared for noise and limited access to work areas. Keep children and pets away from the project zone. Some installers might need to switch off air systems, which can be inconvenient if you plan on staying inside all day.
5. When can I walk on my new floor?
It depends on the flooring type and adhesive. Some materials are ready for light foot traffic within 24 hours, while others (like sanded and finished hardwood) might need 48 hours. Check out how long before you can walk on newly installed flooring for specifics.
6. Should I seal doorways to avoid dust spread?
Yes. If you are concerned about dust, sealing doorways with plastic sheets helps contain it. Turning off the HVAC system during sanding can also reduce airborne particles moving around your home.
7. What can I do to protect floors after installation?
Use felt pads on furniture legs and avoid dragging heavy objects directly on the floor. Keep an eye on your room’s humidity. Simple steps can lengthen the life of your new flooring. Look over how to maintain new hardwood floors after installation for tips on long-term care.
Essential Prep Checklist for Stress-Free Flooring InstallationKey takeaways
- Organize the space. Remove small decor and electronics from the work zone to reduce the risk of damage.
- Move or store heavy furniture. Use sliders or professional movers so installers have room to work.
- Prioritize subfloor prep. Remove debris, level uneven patches, and ensure acceptable moisture levels.
- Coordinate timing. Book contractors, plan around acclimatization needs, and keep an eye on the weather to avoid delays.
- Keep pets and valuables safe. That means fewer distractions for the installers and a smoother experience overall.